|
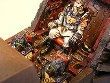
Harly Two: The Tumbler |
|
I want to get some guys really looking like acrobats, and tried to
get some real movement into this figure.
|
|
|
| |
 |
Stage one
I cut the legs from the base, and filed the
cut down so it looked smooth. |
|
|
| |
 |
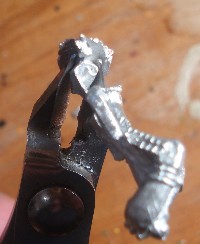
Stage two
Clippers cut smooth on one side and diagonal
on the other. If you hold the clippers as in the picture above,
you'll have the triangular side on the cloth, which will give you
some of the curve you want on the bottom of the cloth. This is
easily filed down to look right. |
|
|
| |
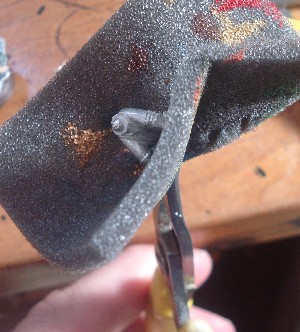 |
Stage Three
To get the movement, I had to bend the legs: I
used GW pliers - which you have to be careful with, so as not to
damage the figure - I use a bit of figure foam to protect the model
|
| |
| |

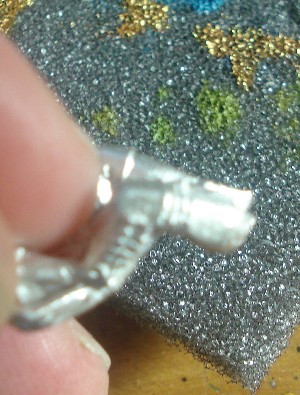 |
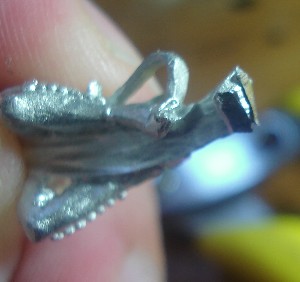
Stage Four
I clipped off the top of the legs, taking off
the socket bobble, and also the top of the groin, Ouch! Before and
after shots below.
.
|
| |
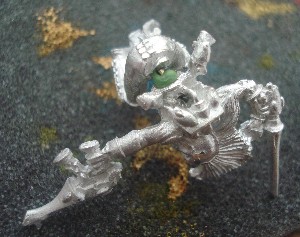 |
Stage Four
I drilled a hole and with some green stuff
filling in the hole, I poistioned him in a suitably tumbling
position and left the green stuff to dry. (I'm not worried about
getting a smooth look on the greenstuff yet - will add another layer
when all set.)
|
| |
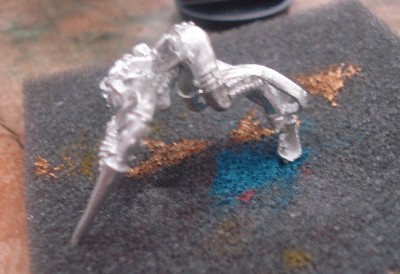 |
Stage Four: left
to dry
|
| |
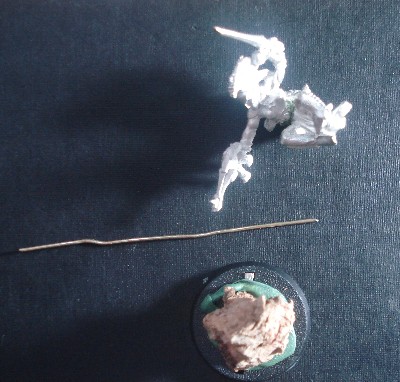 |
Stage Five
I straightened out a paperclip with the GW
pliers, and put some cork in the middle of the base.
|
| |
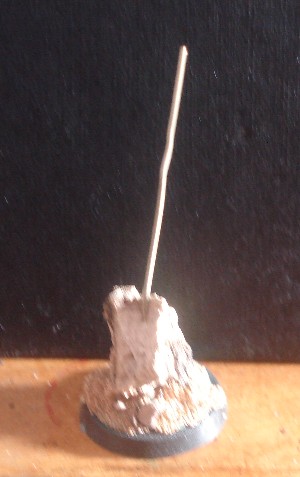 |
Stage Four
It looks like this:
|
| |
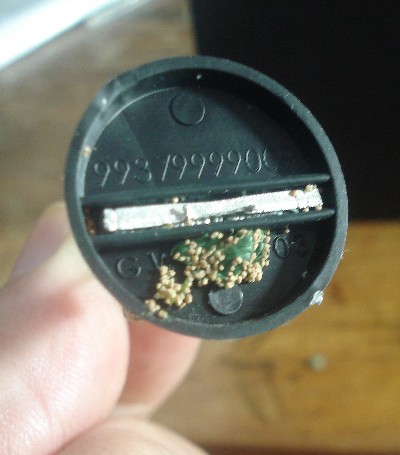 |
Stage Four
The end of the paperclip was bent over and
glued, and greenstuffed in place as here.
|
| |
|
|
| |
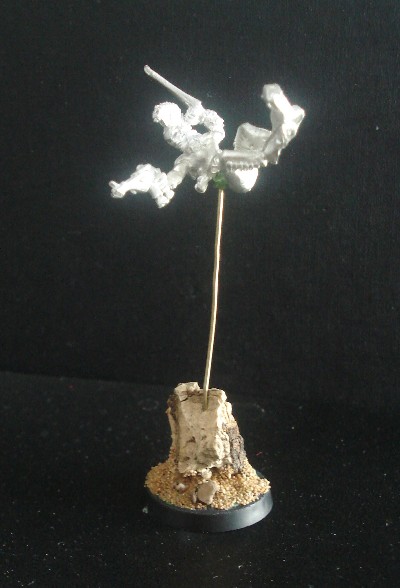 |
Stage Four
I drilled a hole in the back of the harly, and
glued him in place.
|
|
|